| Sean McVeigh's MAME
Cabinet Project see MAMEWorld to figure out what on earth I'm talking about |
|
| Introduction Design Cabinet Controls Interfacing PC Guts Audio Video Links |
Cabinet So now onto the fun part, with power-tools and all! First thing's first.. fetch a glass of wine before beginning any construction project. 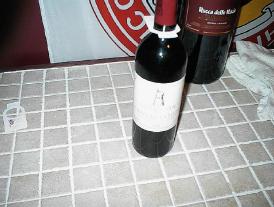 The 95 Latour is probably going to add more to the cost of the project than all the materials combined... choose something a bit more affordable and put it within arms length of the work area. 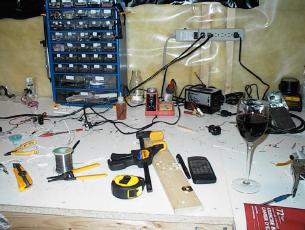 Most cabinets I have seen built were constructed from MDF, which I opted against using. Not because it was too expensive, but because someone at Home Depot said they would have to get the forklift to bring down a new skid of it for me (just wait 15 minutes sir). After half an hour had passed, I picked up 2 sheets of the slightly cheaper particleboard (the melamine sheets they sell as shelving and such are just particleboard covered in a veneer.. and they look nice and have served me well in the past). I had the particleboard cut from 4x8 feet sheets into a more manageable 3x6 foot size, keeping the trimmed off sections of course. (8 feet is pushing it in the trusty Land Rover) After getting the stuff home, I proceeded to cut the sheets as per my specifications. 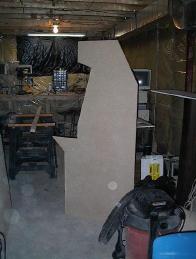 After the side panels were cut, I strung some 2x3's between them and proceeded to fasten some more panels to the front where the coin doors would go. All told, the cabinet is 30" wide. This should allow it to get through a standard 32" doorway (that, and the cutout I made in the control panel was already 30" wide to start with). 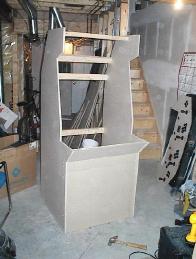 I didn't have enough 2x3's to frame out the cabinet as well as I wanted to, so I spread them around enough to hold the general shape. I should probably also note that everything is fastened with 3" countersunk wood screws, which should allow me to disassemble the cabinet easily if the need ever arises. By the same argument, the deck we built in the backyard last summer is also capable of coming with us if we move, after about 3000 screws are removed. Next, I constructed the control panel enclosure and attached it to the cabinet with some L-brackets so that it could be removed by unscrewing from below, instead of painstakingly having to remove the control panel surface from the top to get at screws. Note the sexy way the enclosure wraps around the cabinet. I thought this was more aesthetically pleasing than the way Neil's panel was constructed. 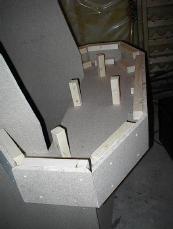 Since my control panel is only about 1/4" thick, I need to have support columns below it to prevent it from feeling spongy. I may eventually need to move one of the center support posts to make room for the spinner. Here is a shot of the cabinet with the control panel cutout attached to its enclosure. 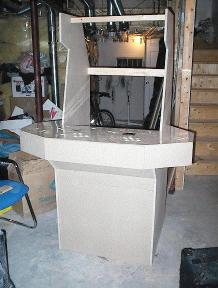 I've mounted the cabinet on 4 locking casters so that it can be wheeled about freely or locked in place. Unfortunately the casters I bought only locked the wheels from moving, and not from pivoting. A side-effect of this is that the cabinet can be shaken about a bit if playing violently. I may end up wheeling the cabinet into place and then simply resting it on blocks. 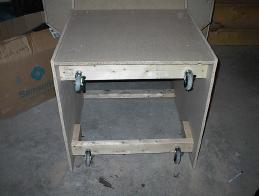 With the rear of the cabinet uncovered, I can easily get at the casters to lock or unlock them. 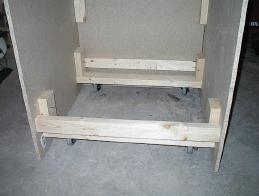 Next on the list was getting the marquee lighting and retainer installed. I picked up a 24" fluorescent lamp at Home Depot and mounted it above the speakers. I had some 3/4" pine left over from the wine cellar project so I used it to make the retainer for the marquee. This just consists of about 7"x1"x3/4" pieces with a 3/16" gap to accomodate the double layers of 5/64" plexiglass and the artwork. 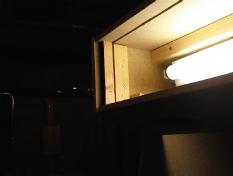 Sorry it's a bit dark, but I couldn't be bothered to play with the flash on this digital camera (as I was shooting directly into the light). Here is a longer shot of the lighting in action. 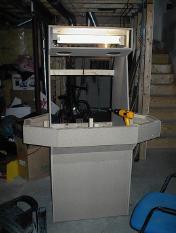 All that remains now is to come up with some marquee artwork and give the thing a name. I'm leaning towards The Time Machine, as the whole idea is really to be transported back to the 80's (or perhaps its that this project is just sucking up my free time? I think my wife would agree).  I've mounted a pair of 2-player coin doors on the cabinet now. They drop quarters into a 24" long wooden tray in the bottom of the cabinet. I can open the doors and dig around to retrieve spent coins. I'm not entirely happy with the sound of coins falling onto wood though. Perhaps I should line the coin box with sheet metal, or better still.. more coins! Maybe a hefty layer of pennies under plastic wrap or something. 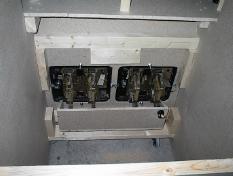 The only thing left to do with the cabinet is put up some support for the monitor, and put T-molding around all of the exposed edges. I doubt I will enclose the rear of the cabinet, as the back is not intended to be visible, and I'd like to maintain easy access to the guts. So it's been a week or so since I've got much work done on the construction.. mainly due to the design and fabrication of the interfacing board. But I haven't been idling with the rest of the project... check out the marquee. 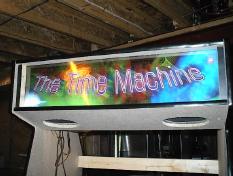 It was done up at a photo shop for $30cdn and is printed on a poster grade paper. I created the artwork in photoshop. The artwork is available as 15MB tif file. I've compressed it to 8MB here with zip if anyone is interested in having a look up close. It mainly consists of some small clippings from Digital Blasphemy and some artwork I did up in Maya and some weird pixelated glowing effects around the text. I guess I should explain the name now. There were really two to choose from. My wife suggested The Space Invader on account of the amount of space it was taking up in the basement. I did like this one a lot, but I had a feeling the name was already used, and may simply be confused with Space Invaders. My idea was The Time Machine either on account of the amount of time it was taking to construct, or the fact that it was designed to transport me back to the 80's (entertainment-wise of course). As of March 20th, the cabinet is playable (albeit on a 14" monitor at present). Here's a quick shot of the setup. I just have the PC sitting on a workbench behind the cabinet for now. 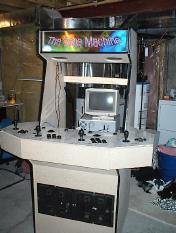 It was about 3 or 4am when I got it to the playable stage, so I didn't actually do much more than insert a coin and fire 2 shots in space invaders. Just waiting on the 27" monitor to arrive.. any day now! So the monitor arrived and was in great shape. I don't have any intermediate photos of the installation.. just the final shots. 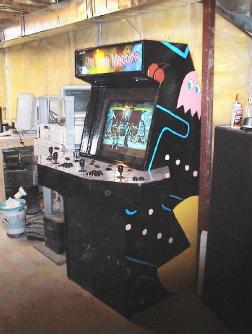 I mounted the monitor about 3-4" inset into the cabinet by hanging it on a frame of 2x4"s. The black border around the screen was made from foamcore. I didn't have a large enough board to do it in one piece, so it is just 4 pieces taped together for now. I may change this the next time I find myself at Michaels with $10 burning a hole in my pocket. In front of the foamcore border is a sheet of lexan to protect the monitor and sort of hold everything in place. I mitered a frame out of quarter-round pine and mounted it to the cabinet in front of the lexan. Only the bottom piece of molding is permanently attached, to allow the lexan, etc. to be removed if desired. The artwork was done with semi-gloss acrylic paint. I laid down a layer of white primer and traced my artwork lines through the primer. Lyne and I spend Wednesday painting it. There are 2 coats of each colour on there. I finished it off with a coat of poly to protect everything. I wanted something colourful, hence the Pac-Man art. We decided to do some different art on the other side to mix it up a bit. 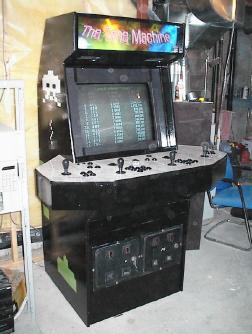 You can just sort of make out the art on the left-hand side -- a scene from Space Invaders. Lyne doesn't want this picture to go up here.. but it is the best shot so far of the Pac-Man art. She's playing Frogger of course! 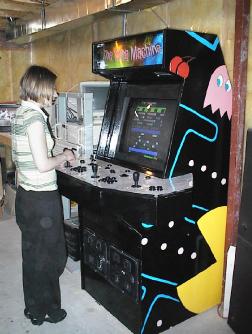 ...more... |